Description
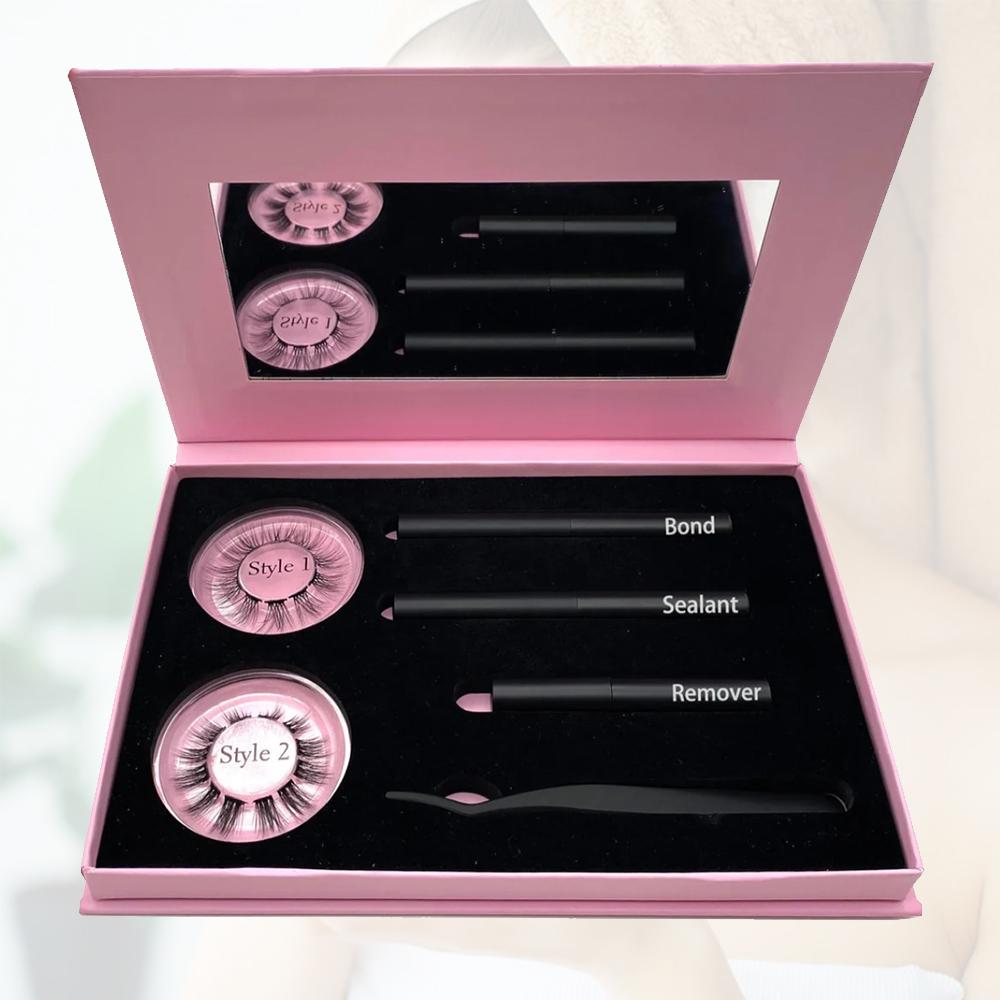
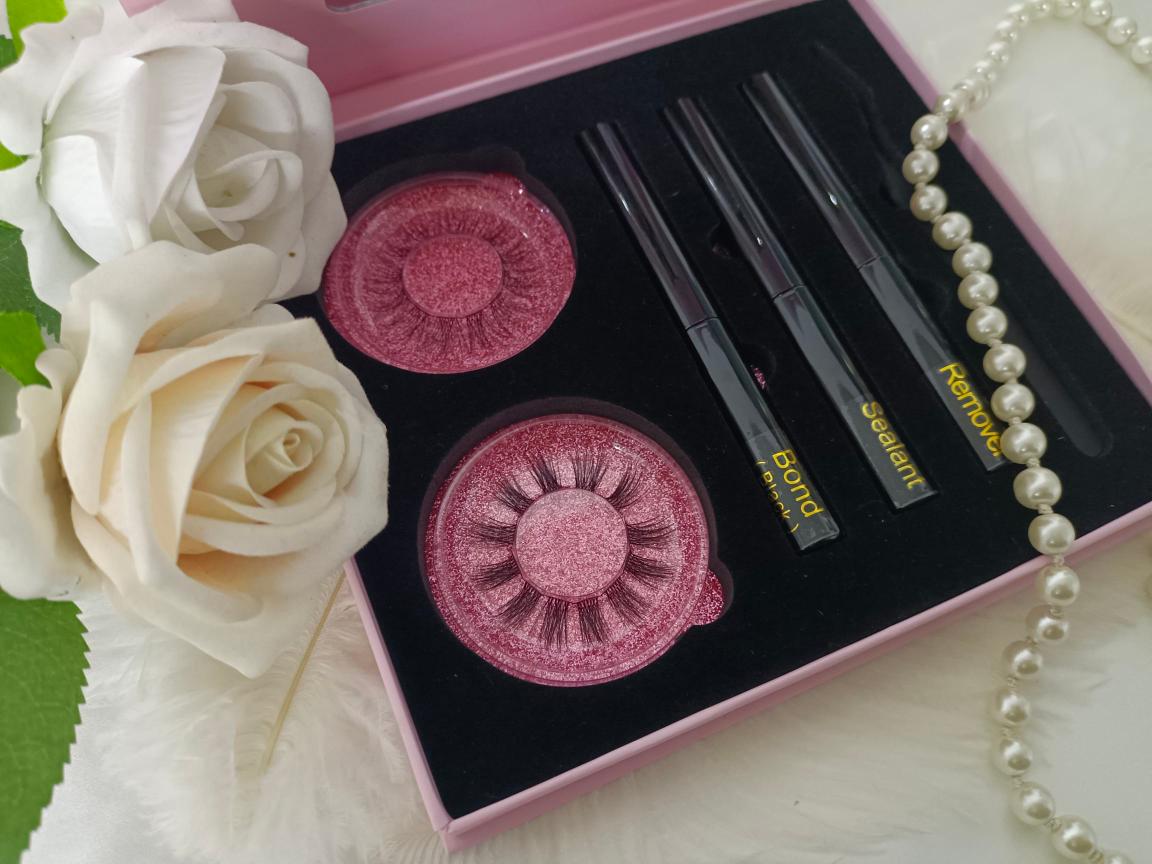
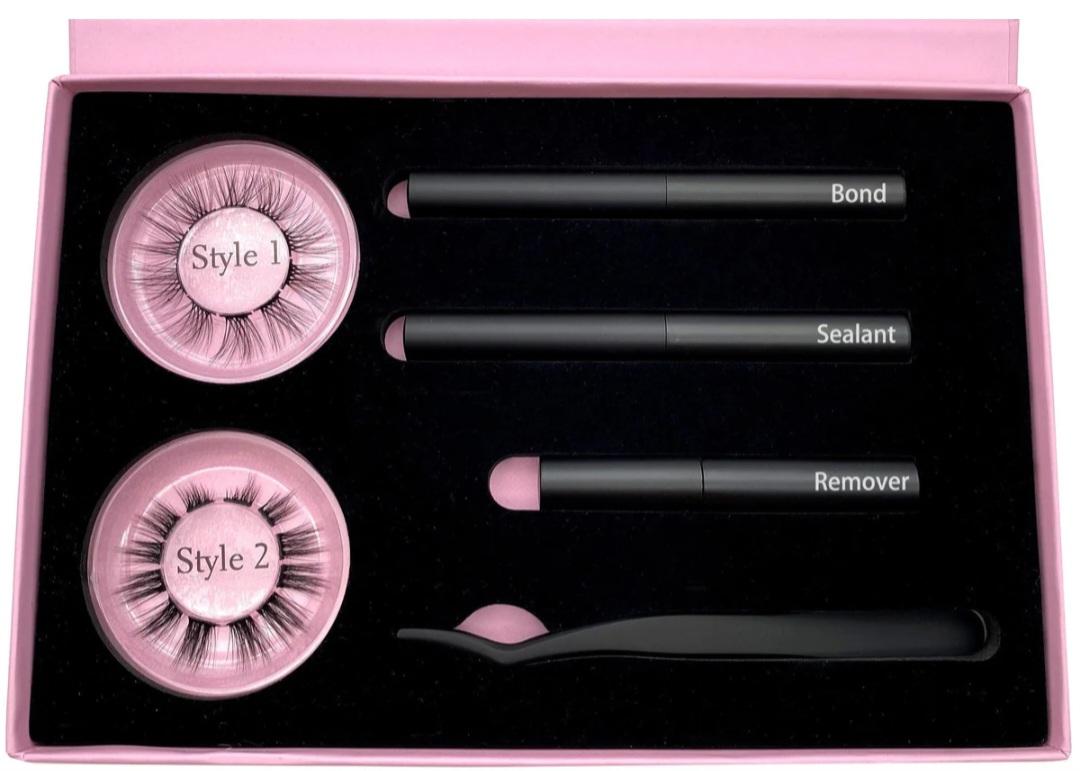
What’s included in the package:
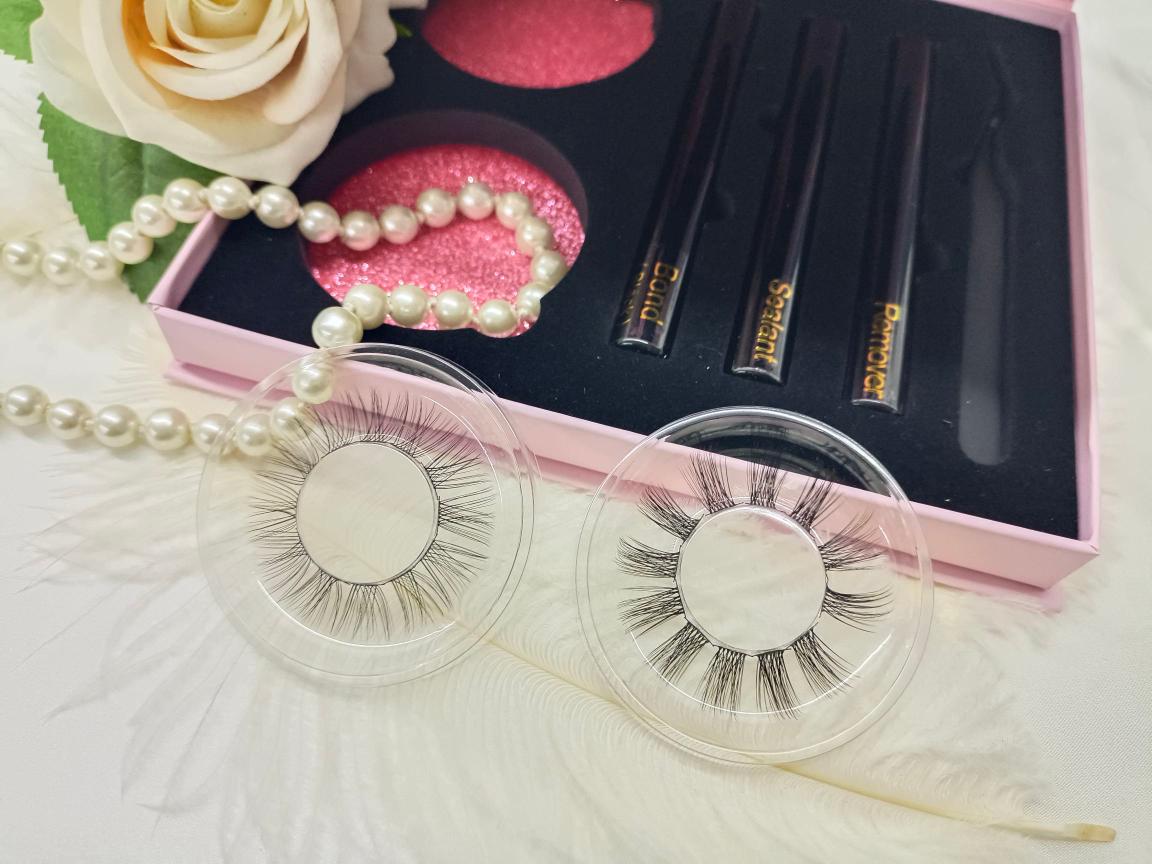
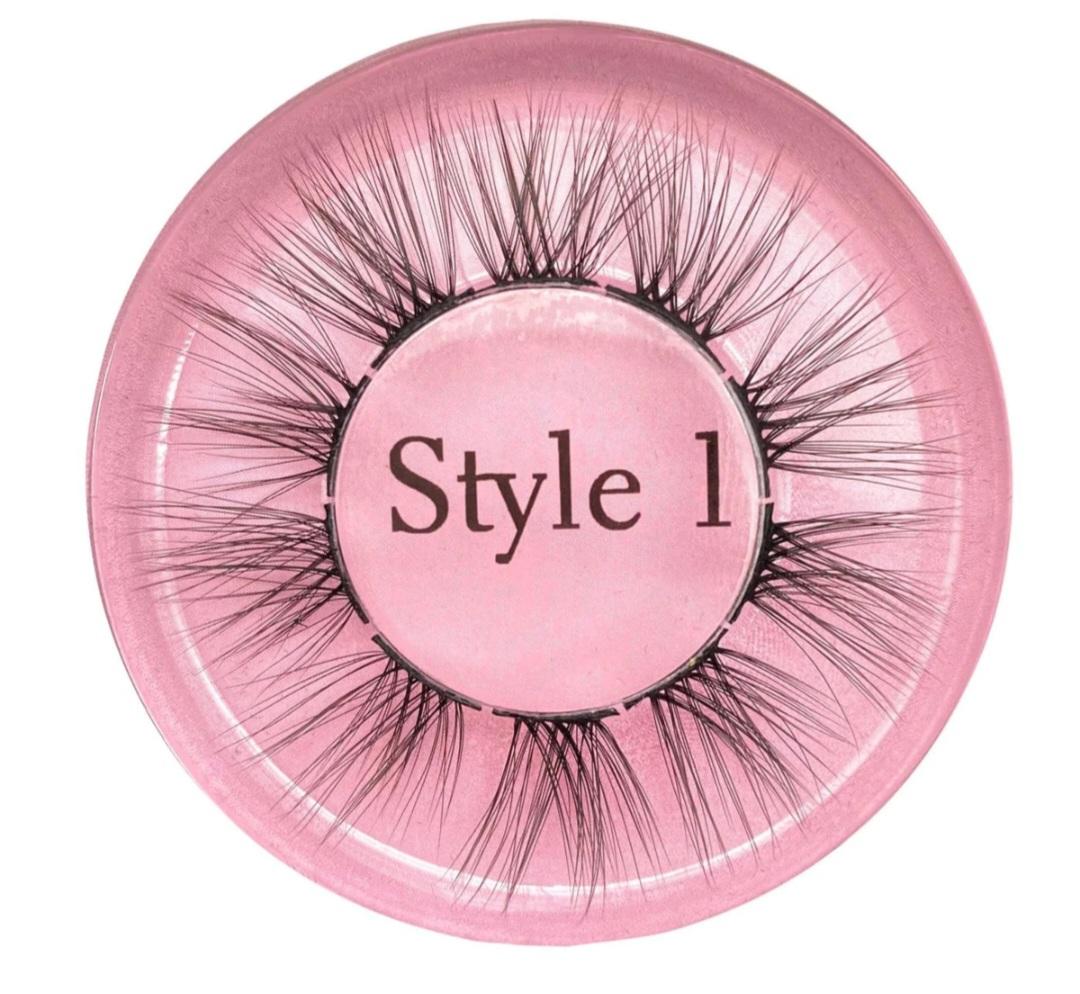
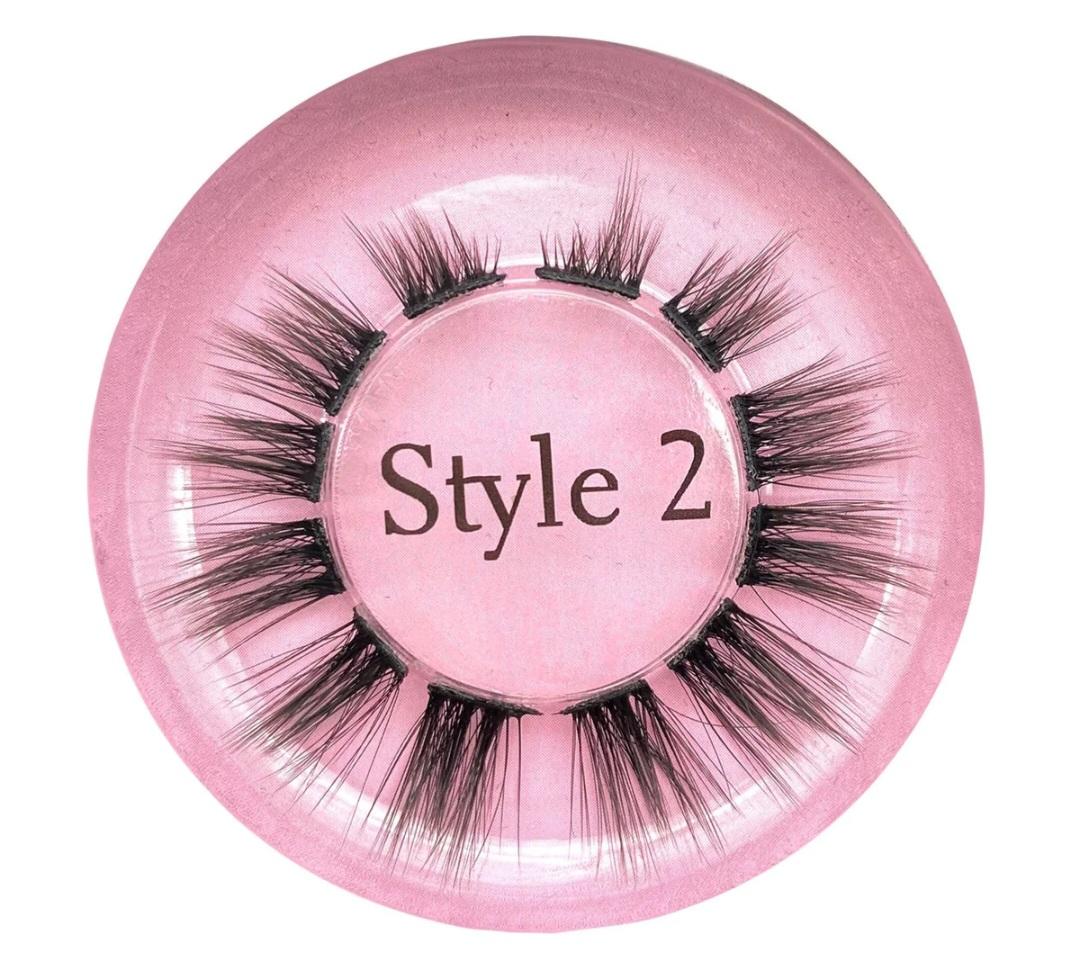
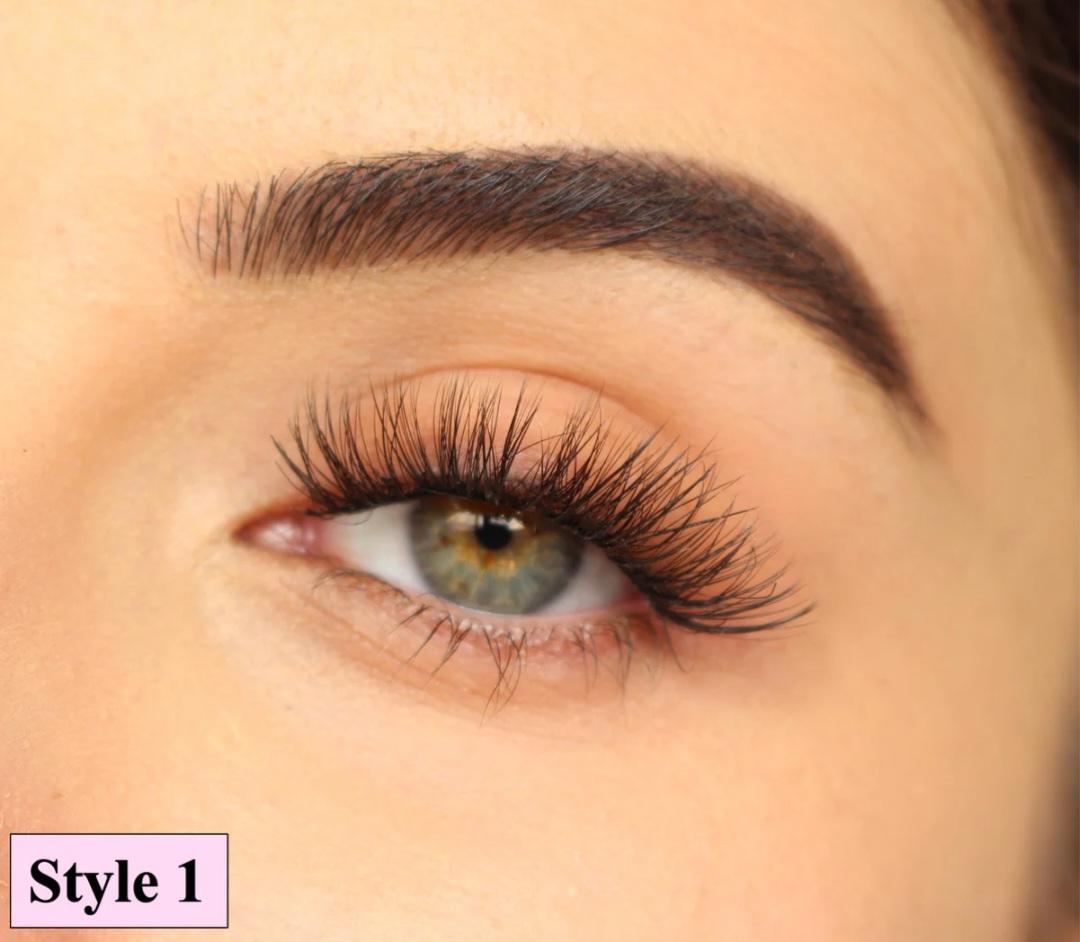
1. This kit comes with two perfectly designed segmented lash styles to suit all eye shapes and are reusable for multiple uses.
• Style 1 Natural
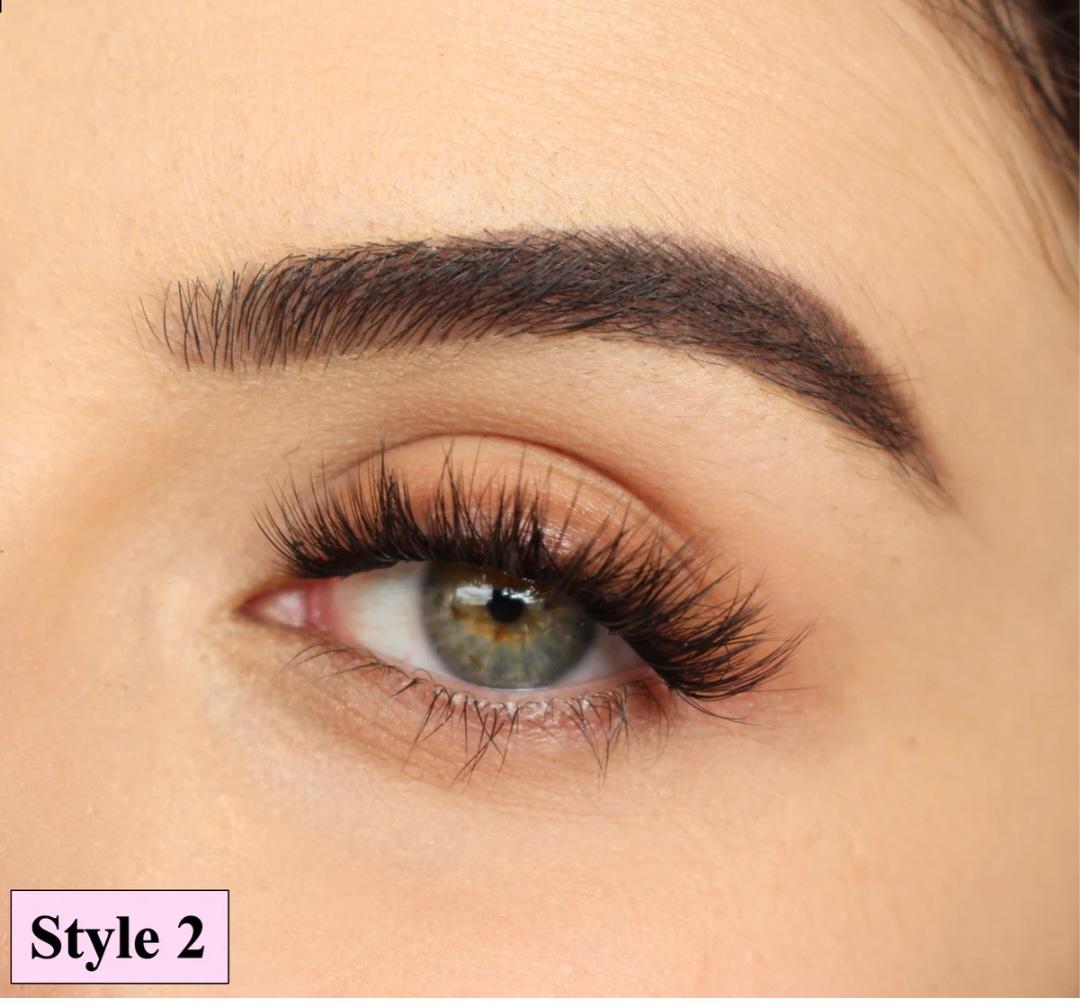
• Style 2 Fluffy Lash
You can also mix and match based on your preference!
2. Bond: A micro mascara wand that you can use to gently brush through your lash hairs. Applying the bond is the first step.
3. Sealant: This provides an extra layer of protection to keep your extensions in place for longer period of time. (5ml)
4. Remover: No need to worry about damaging your lashes as our this can be applied gently for an easier removal of the extension. (4ml)
5. Tweezers: Soft black matte metal tweezers for easy application of the extensions.
This kit can be used with any lashes!
Alternatively, pair it with our individual lashes coming soon!
How to use:
You can also watch the video on the website.
1. Cleanse, curl, and leave your lashes completely dry and clean.
2. Brush the bond to your lashes, beginning 1-2mm away from your lash line and ending beneath your upper lashes. Wait 30 seconds before applying again.
3. Adjust and cut the lash bands to fit your eye shape and preference. Remove any excess glue form the lash.
4. Gently place each lash segment beneath your upper lashes, 1-2 mm away from your lash line, and continue from outer corner to inner corner ( or the other way around if you prefer)
5 Once your satisfied with the placement, clamp all of the lashes together with the TWEEZERS provided.
6.Brush through your lashes to apply the sealant. If the lashes feel a little sticky. Use clean fingers to apply sealant to any sticky areas.
How to remove:
You can also watch the video on the website.
1. Gently rotate the remover wand over our upper lashes for a few seconds.
2. Pull each lash segment gently.
3. For added protection, rinse your eyes with warm water and apply coconut oil. (optional)
4. Immediately clean each lash segment with warm water and Q-tips and set aside to dry for the next application.
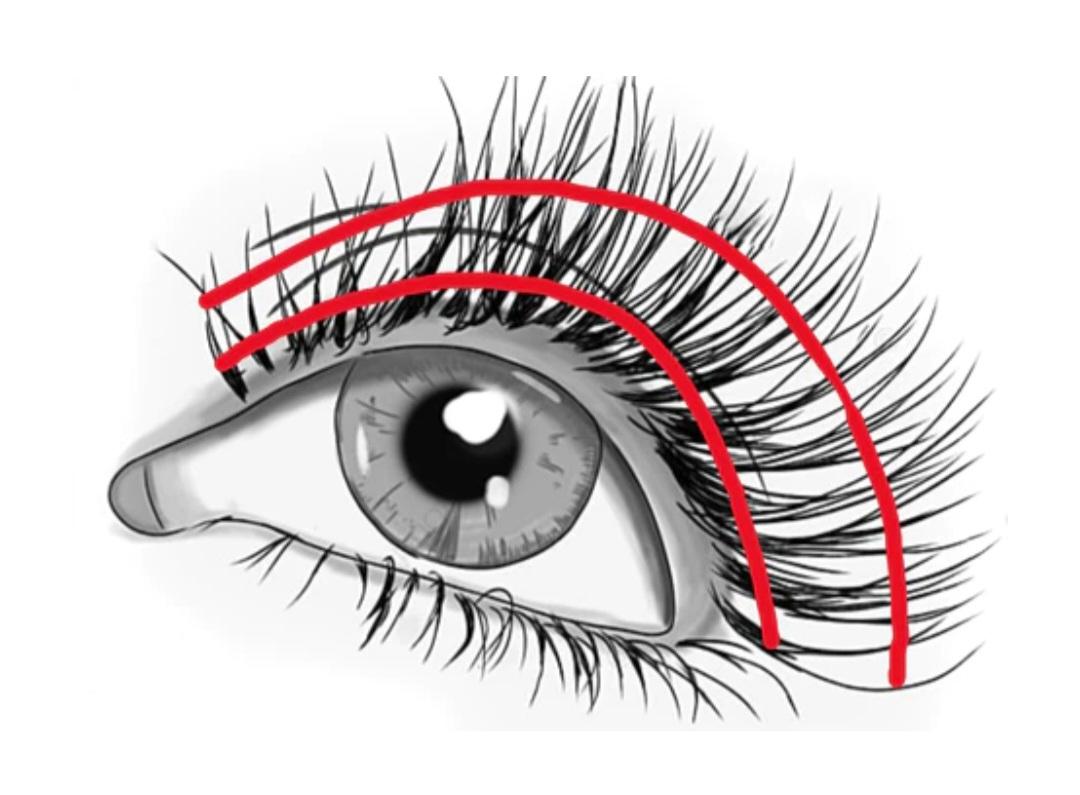
PRO TIPS – For longer lasting wear, brush bond through lash hairs from 1-2mm away from root to 3/4 of your lash hair! (Shown in red areas in image below). Clamp lashes with fingertips for a stronger hold. (optional) and clamp lashes daily for stronger hold. Any soaps or liquids other than water should be avoided! Don’t wet lashes within 24 hours of applying. If a lash is getting loose, simply reapply bond, wait 30 seconds, clamp and then seal! The lash segments are very delicate once the lashes are removed, so extra care when cleaning is required when cleaning them.
Ingredients:
Bond: Acrylates Copolymer, Aqua, CI77266
Sealant: Water, Acrylates/Rthylhexyl, Acrylate Copolymer, Propylene Glycol, Phenoxyethenol/Ethylhexyl, Glycerin, Octanol/ethyl glycerol.
Remover: Cyclopentasilpxane, hydrogenated polycyclopentadiene, Caprylic/Capric Triglyceride, Hydrogenated Polyisobutene, Isododecane.
Precautions:
Before using, perform a patch test and wait 24 hours to see if you have an allergic reaction. if you get reaction, stop using right away.


Reviews
There are no reviews yet.